Add personalized widget areas to your WordPress theme
Written By :
Category :
fedora
,General
,guias
,Linux
,ubuntu
Posted On :
25 June, 2014
Share This :
One of the basic things to do when you’re creating a wordpress theme is to add Widget areas and a lot of times you will end up building a full theme just using widets. Procedure is quite easy:
We open the functions.php and locate the following line:if (function_exists(‘register_sidebar’))Then we add our instruction:register_sidebar(array(
‘name’=> ‘Widget Panel Name’,
‘id’ => ‘widget-code’,
‘description’ => ‘Widget description’,
‘before_widget’ => ‘<div>’,
‘after_widget’ => ‘</div>’,
‘before_title’ => ‘<h2>’,
‘after_title’ => ‘</h2>’,
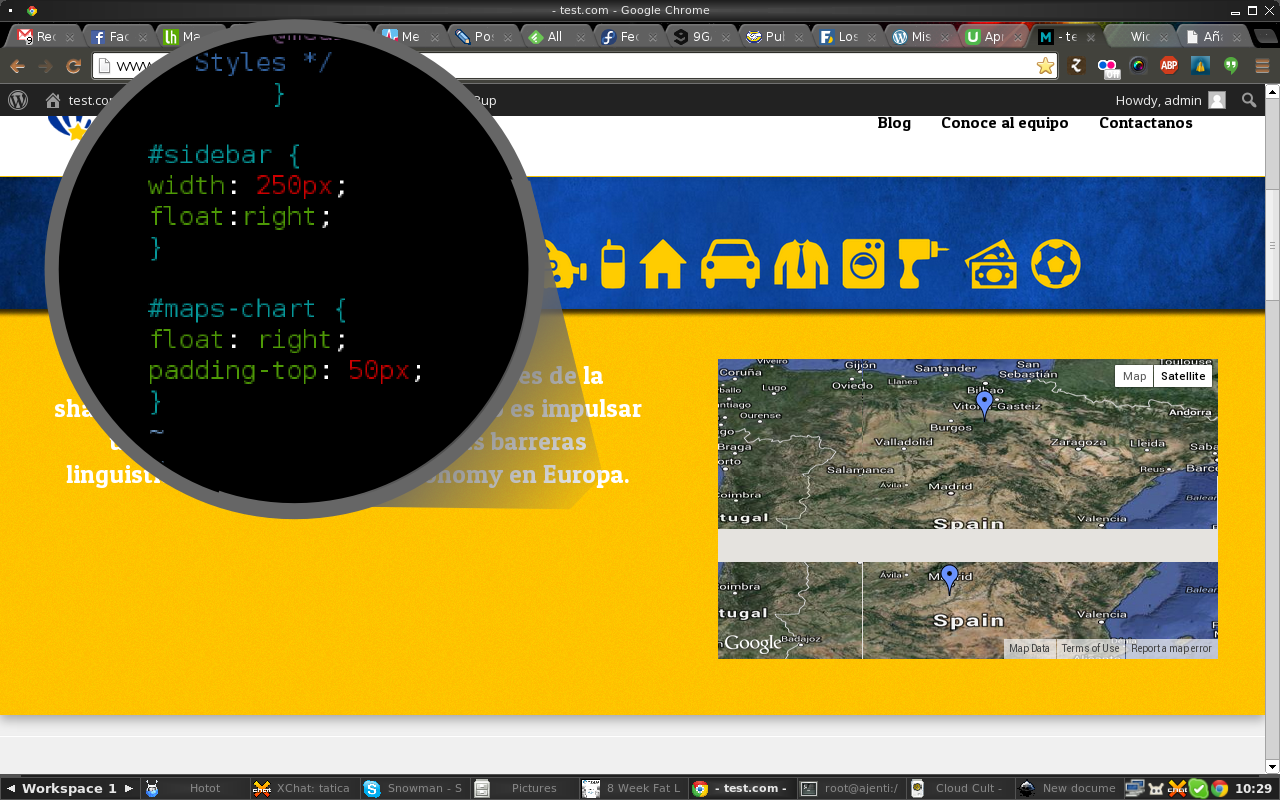
));Where “Widget Panel Name” will be the one visible at the admin, and “widget-code” will be the one we will use inside the theme php.[cq_vc_fluidbox thumbwidth=”500″ fluidimage=”4732″][/cq_vc_fluidbox][cq_vc_fluidbox thumbwidth=”500″ fluidimage=”4733″][/cq_vc_fluidbox]Now we just need to add the instruction inside our theme, for me, I wanted to show a Geo post location map for the author’s post. the instruction to add the widget is this:<!–?php if (!function_exists(‘dynamic_sidebar’) ||
!dynamic_sidebar(‘widget-code’)) : ?–>
<!–?php endif; ?–>Remember to add some style so it doesn’t break, and this is everything you need to do to add your personalized widget area.[cq_vc_fluidbox thumbwidth=”500″ fluidimage=”4734″][/cq_vc_fluidbox]