I was mostly an avid user of the Sharpen and RAW denoise modules before LGM, but folks were kind to teach me another way to get my sharpening, and since I tend to forget stuff, here are my notes on that.Sharpen module:
As its name says, might be the easiest way to add that extra definition to your picture by enhancing the contrast around the edges. It’s not the strongest module available for this, since when you want to increase values a lot to get a better detail, it brings quite a lot of noise that you later have to fix with further modules. Each image need a different set of parameters, but I’ve felt quite comfortable with ranges around:Radius: 3.2
Amount: 1.1Depending on the amount of detail (or noise) I get on my final image, I like to push the Threshold up to 10 or something above if needed, or go with the Raw Denoise module for a small 0.003 or so.[cq_vc_beforeafter beforeimage=”6539″ afterimage=”6540″ autoslide=”0″ handlestyle=”aqua” iconcolor=”#ffffff”]Equalizer module:
Here comes the tricky. I work on the luma only to get the result I want, which is an increase of edge definition, a bit of denoise (quite a bit ’cause it’s too strong to work with the Equalizer) and I like the burn effect I get on different areas (I mostly work with portraits).To get the sharpness I increase the curve on the fine (right) side up two levels.
To denoise I increase the bottom spline on the fine side as well. It barely shows, but it’s there. Don’t push this too far.
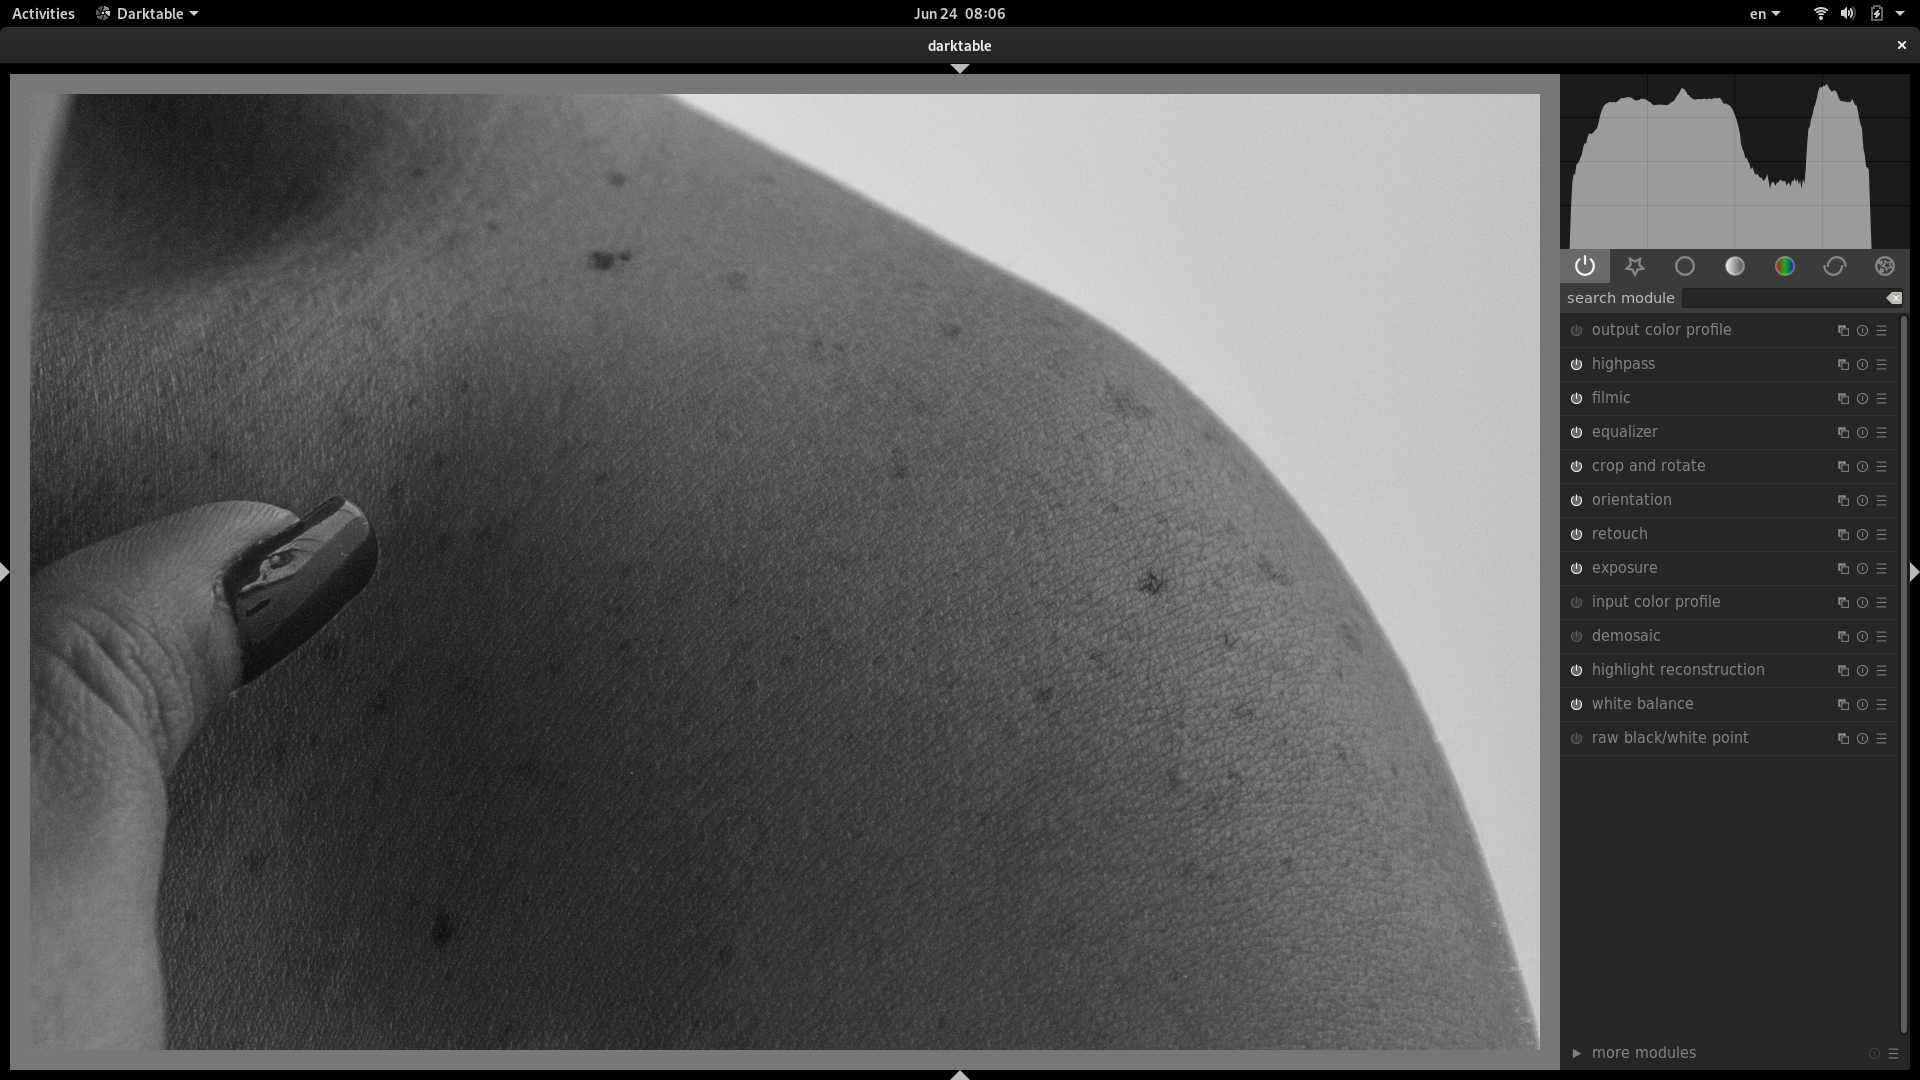
For the burn effect (take down the clarity) I take half level up the second spline on the Coarse side (left)You can see a better sharpen result, and some nice burning effect over the shoulder and inside the clavicle.[cq_vc_beforeafter beforeimage=”6539″ afterimage=”6545″ autoslide=”0″ handlestyle=”aqua” iconcolor=”#ffffff”]Highpass:
This is probably as easy as the Sharpen module, with a few tweaks and a bit more control. It’s more defined and easier to predict the final result when looking to the edges definition and setting the blur or intensity of those. Remember that once you set your parameters, you have to apply a Softlight blend mode to see the result and not just the edge’s layer output. I feel quite comfortable when working with skin using this values:sharpness: 25%
contrast boost: 35%
mask layer opacity: 80%[cq_vc_beforeafter beforeimage=”6539″ afterimage=”6548″ autoslide=”0″ handlestyle=”aqua” iconcolor=”#ffffff”]My personal workflow for skin now includes working with the equalizer module as well as highpass (yeah, forgot completely about sharpen module), but when comes to faces, I like to apply some parametric masks to the highpass module to define different sharpness levels through the skin (faces are trickier).
Here’s the final before/after using my personal combo (equalizer + highpass). Hope you find this useful, it was for me :)[cq_vc_beforeafter beforeimage=”6539″ afterimage=”6549″ autoslide=”0″ handlestyle=”aqua” iconcolor=”#ffffff”]Thx Pat for getting me into write again :)
Muy útil. Gracias por la pequeña guía. Hace falta más documentación sobre programas libres en español. Es mentira eso de que todo el mundo habla inglés, y menos inglés técnico informático/fotográfico. 500 millones de personas en la Hispanidad a ambos lados del Atlántico no tenemos ninguna obligación de hablar inglés o de sentirnos cómodos obligados a leer en otro idioma que el nuestro.
Gracias por tu aporte!
like ;)
That sounds insane. I usually tend to be quite careful with the Equalizer but will have to keep playing until I get fully satisfied with the output (and yes… I keep the base curve off)
[…] post has a nicer formatting that can be seen at it’s original source at tatica.org , so feel free to hit the link and read better […]
The sharpen module is actually exactly an highpass filter blended in overlay mode. Raising the most right-hand node of the equalizer falls back to a simple highpass filter too. All in all, the equalizer should to everything the 2 others modules do, but does more (allowing to edit several lower frequency bands as well). In dt 2.7, with the new reorderable pipe, you can move the equalizer right after the input color profile (in “enabled modules” tab, using Ctrl + Shit + clic & drag on the module) and you should be able to push the sharpness even further without seeing halos and weird stuff (that is, if you disabled the base curve).
Cheers,
A.